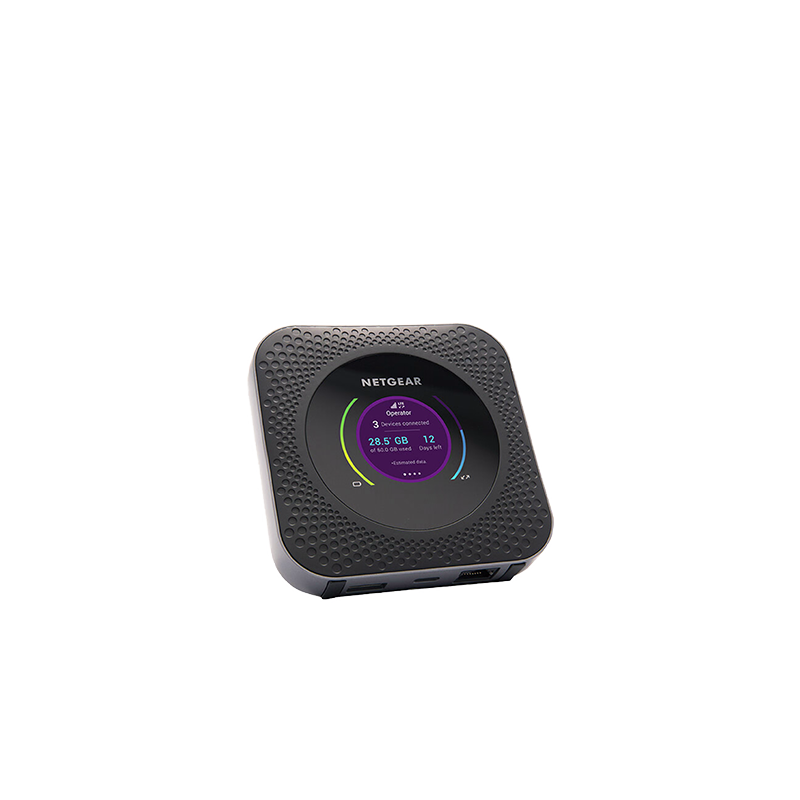
Nighthawk MR1100 Tutorials
Select a tutorial to configure your Nighthawk MR1100 for optimal performance.
Update APN
Manual Network
Band Locking
Follow these steps to update the APN on your Nighthawk MR1100 for reliable connectivity.
- Download the NETGEAR Mobile App: If you haven't already, download and install the NETGEAR Mobile app from the App Store (iOS) or Google Play Store (Android).
- Open the App: Launch the NETGEAR Mobile app on your smartphone or tablet.
- Log in with NETGEAR Account: Log in with your NETGEAR account credentials or create an account if you don't have one.
- Connect to Your Router: Make sure your device is connected to the Nighthawk's network.
- Router Admin Login: Log in with username
adminand passwordattadmin. - Go to Router Settings: Tap the menu icon or settings icon to access router settings.
- Access Mobile Settings: Navigate to Settings > Advanced > Mobile > APN.
- Add a New APN: Tap Add to create a new APN profile.
- Enter APN Details: Type the required APN (contact support for this) and leave other fields blank.
- Save the Settings: Tap Save or Apply.
- Restart the Router: Reboot your Netgear Nighthawk router.
- Verify Connection: Check your internet connection after rebooting.
Follow these steps to manually select a network on your Nighthawk MR1100 for better control.
- Download the NETGEAR Mobile App: Download and install from the App Store or Google Play Store.
- Open the App: Launch the NETGEAR Mobile app.
- Log in with NETGEAR Account: Use your NETGEAR credentials or create an account.
- Connect to Your Router: Ensure connection to the Nighthawk's network.
- Router Admin Login: Use
adminandattadmin. - Go to Router Settings: Access settings via the menu or settings icon.
- Access Mobile Settings: Go to Settings > Advanced > Mobile.
- Select Manual Network Selection: Tap Network Selection.
- Choose Manual: Switch from Auto to Manual.
- Select Your Preferred Carrier: Choose from the list of available carriers.
- Save the Settings: Tap Save or Apply.
- Restart the Router: Reboot your Netgear Nighthawk router.
- Verify Connection: Confirm the connection works with your selected carrier.
Follow these steps to lock specific LTE bands on your Nighthawk MR1100 for optimized performance.
- Download the NETGEAR Mobile App: Install from the App Store or Google Play Store.
- Open the App: Launch the NETGEAR Mobile app.
- Log in with NETGEAR Account: Log in or create an account.
- Connect to Your Router: Connect to the routers network.
- Router Admin Login: Use
adminandattadmin. - Go to Router Settings: Access via menu or settings icon.
- Access Mobile Settings: Navigate to Settings > Advanced > Mobile.
- Select LTE Bands: Tap LTE Bands.
- Choose Preferred LTE Band: Select from the list (e.g., Band 2, Band 4, Band 12).
- Save the Settings: Tap Save or Apply.
- Restart the Router: Reboot your Netgear router.
- Verify Connection: Check the connection with your selected LTE band.
Control your connection anytime. Download the App →